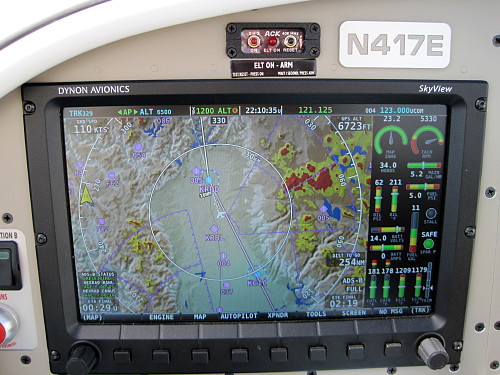
As you can see on the display,
I'm coming up on Redmond, CA and I'm running out of flat land to fly over.
Eventually, I'm going to have to head into the mountains to make my way
further north.
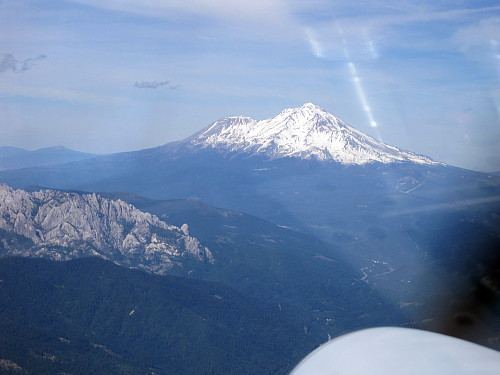
I followed Interstate 5 north
through a couple of passes, which took me alongside Mt. Shasta.
Passing by.
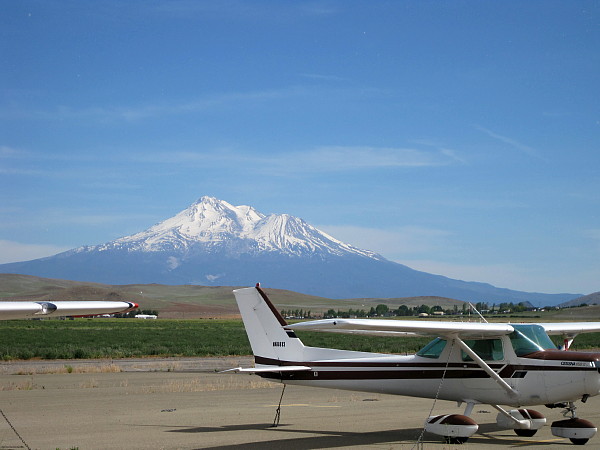
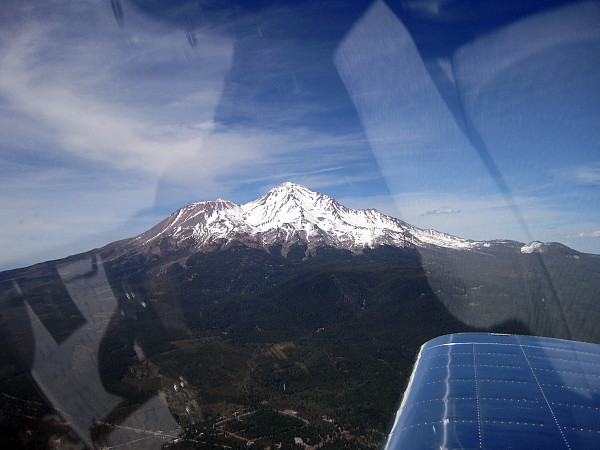
I landed for fuel and took this
picture looking back south.

After flying on for a couple of
more hours, I finally reached my destination of Eugene, Oregon. This
would be my new home for the next two to three weeks.
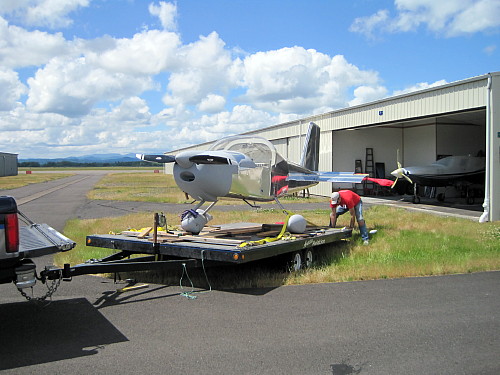
After getting a good night's
sleep, John and I took the airplane apart and loaded it up on his trailer to
be painted in his studio about 15 miles from the airport.
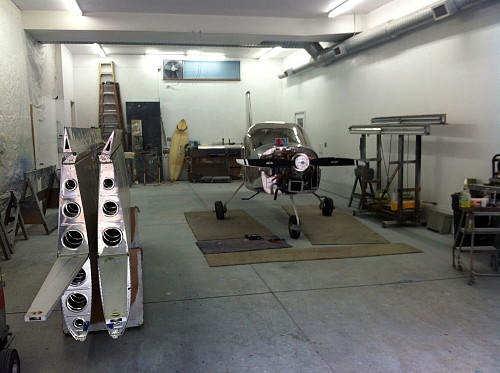
By the end of the day we had it
all apart and in his studio ready to begin the process of painting it.

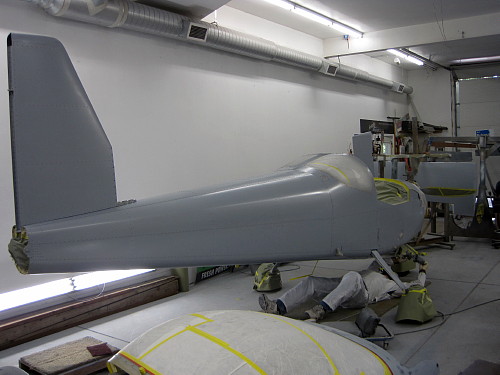
The first step in the process is
to clean and then scuff the aluminum. I worked on the rivets with a
special cleaning tool while John did the flat panels with an air sander.
Pretty soon we had the
two-part epoxy on the parts and it was time to let it thoroughly dry.
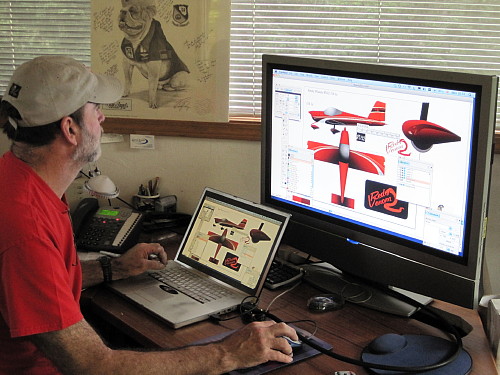
While the primer dried, we
finalized a few little details on the design. We had completed the
basic design via email well before I came out, but there's always a little
tweaking that goes on.
To continue the story, please go
to the next page.
|