Once the base dries, all the
tape is removed to reveal the paint scheme. Now the detail work
begins.
There are lots of little touch
ups to do. John masks off the areas that need a touch up and then
paints them with his small airbrush. There are tons of rivets to paint
around and over so there is bound to be some bleed through of paint dust,
etc. It doesn't take long to fix all the spots.
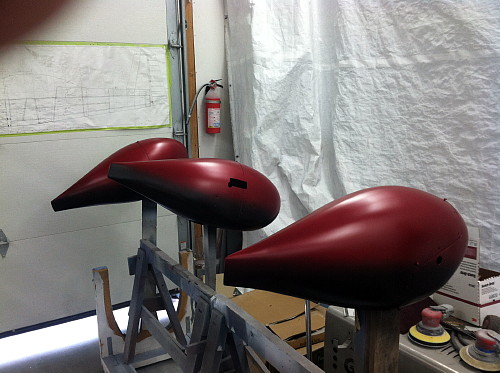
While the wings and fuselage are
getting touched up, the fiberglass parts are painted as well. Most of
these parts are attached to various racks around the shop.
With the base down, an initial
coat of clear is applied so that the graphics can be laid out and painted.
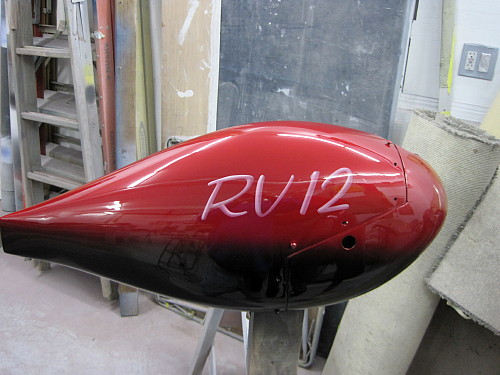
This is the front wheel pant.

John has a vinyl cutting machine
that allows him to design and cut custom paint masks for his artwork.
Here he's laying out the custom tail art.
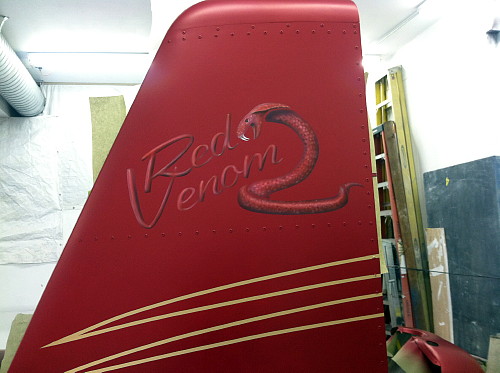
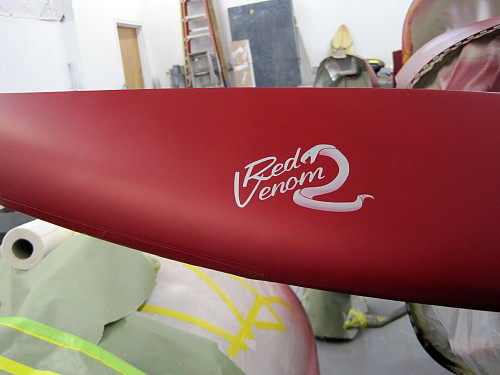
Here's the finished artwork sans
the final clearcoat. The Red Venom 2 logo refers to my 1965 Shelby
Cobra 427SC sport car that is named Red Venom. They will now be a
matched pair in my hangar.
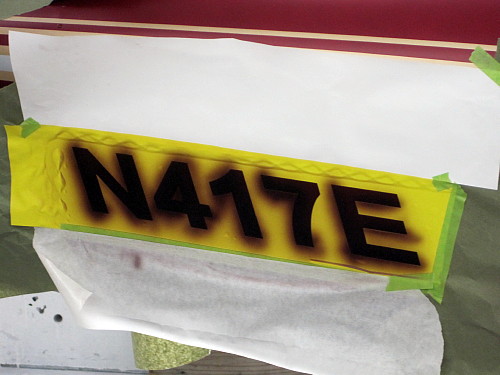
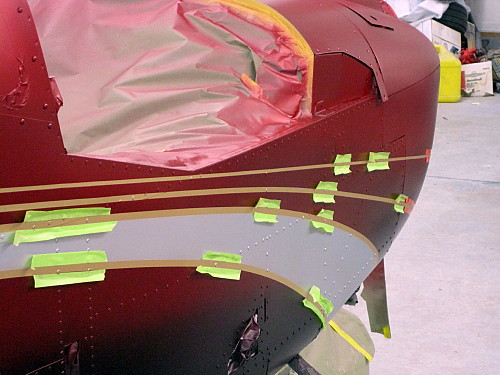
The registration number are laid
out with a dark red shadow. This will be followed up by bright red
with gold trim.
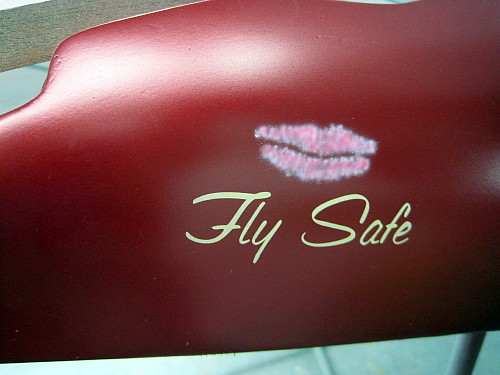
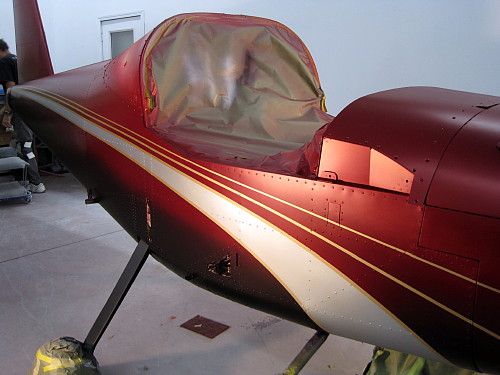
Ah, the kiss. Here's the
story on that. Before I left Indy, my wife kissed the side of my
canopy rail and said "Fly Safe". This way, she would always be with me
while I was gone. When I told this story to John, he said we just had
to duplicate this on the finished product. So he did!
The prop was painted as
well with a logo added to each blade.
To continue the story,
please go to the next page.
|