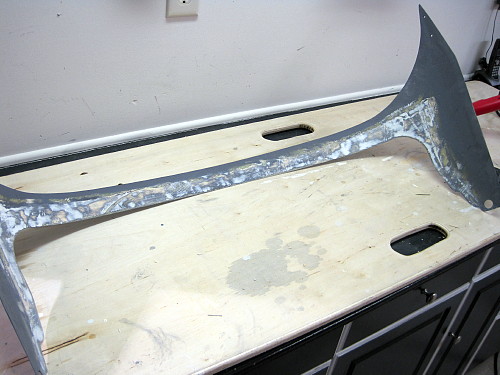
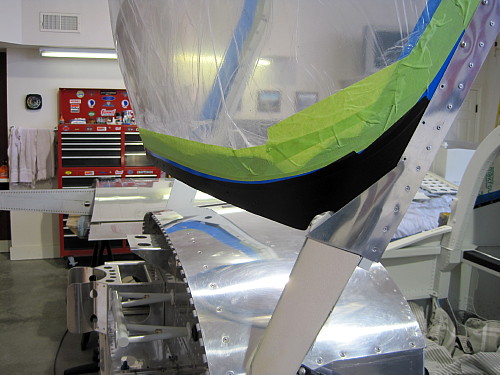
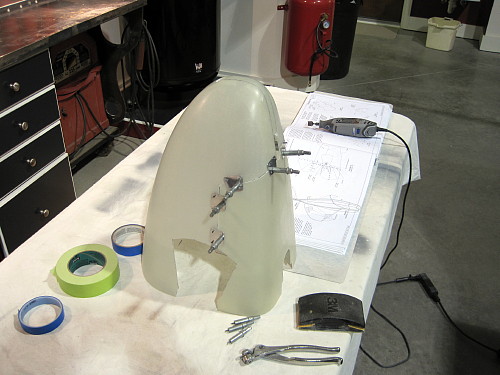
Parts of the inside of the
fairing must be finished because you can see them when the canopy is opened.
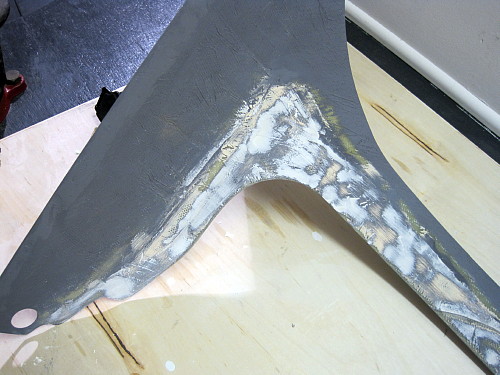
Here filler is applied and then
sanded smooth.
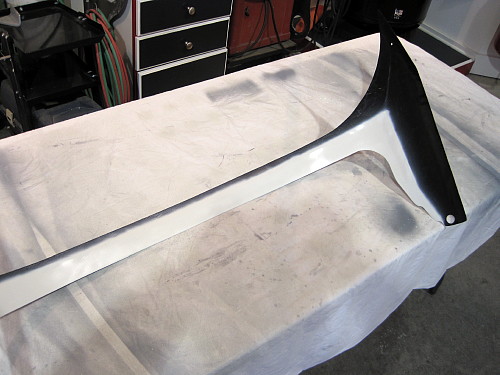
The parts that can bee seen are
painted the interior color. The rest is painted black.
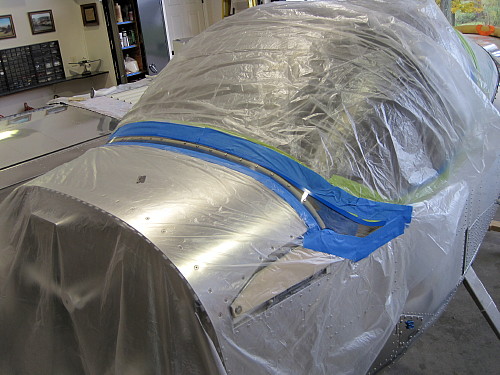
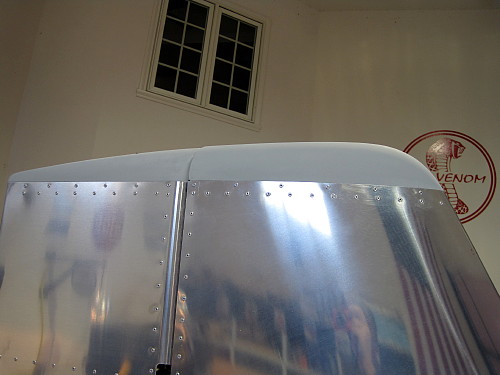
Before the fairing is glued into
place, the canopy under the fairing is painted black so the fiberglass is
not visible from the inside.
Here the canopy is painted black
where the fairing will attach.

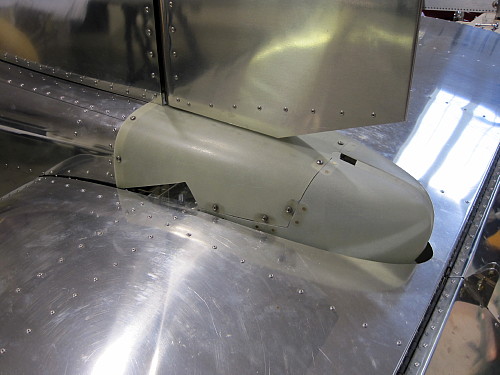
The fairing has been attached
with fuel tank sealant and left alone for over two days.
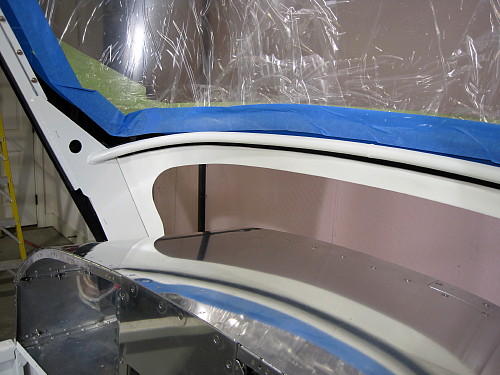
Here's a shot of the inside.
Looks perfect.
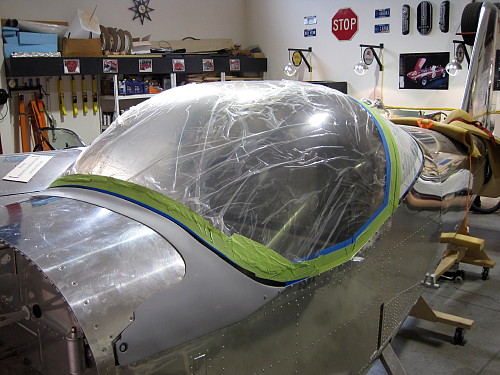
The canopy installation is
complete. Whew. That was a tough one. There was about
three weeks of very detailed work that was done in a very specific order so
that the proper look was achieved.
The tail fairing is trimmed and
put together.
It is then trial fit to the
airframe.
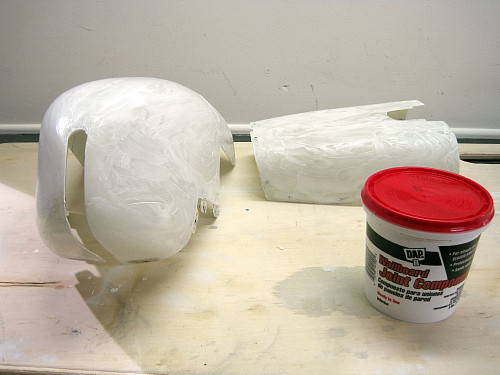
I fill the pin holes in the
fiberglass with joint compound. This is an old painter's trick.
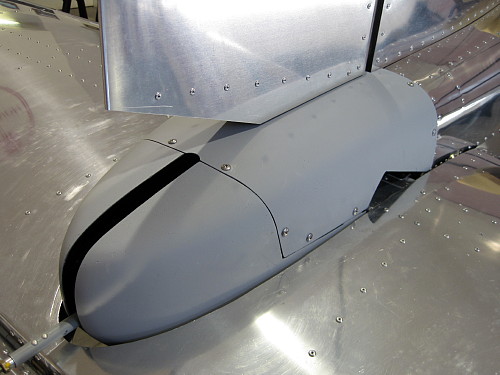
Finish product installed.
Tail feathers added and trimmed
out.
Next step is to do the final
install of the rear window. That work can be found on the next page.
|