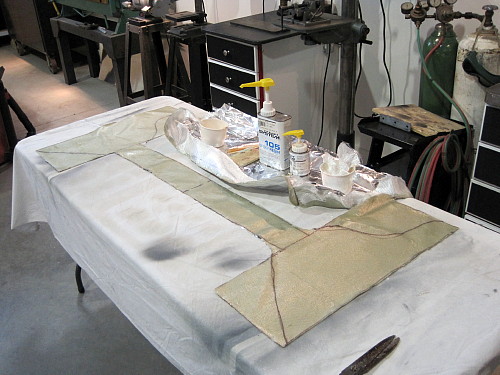
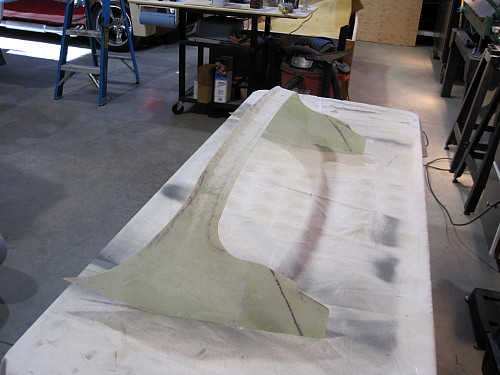
Five plys of glass are wetted
out and cut to shape.
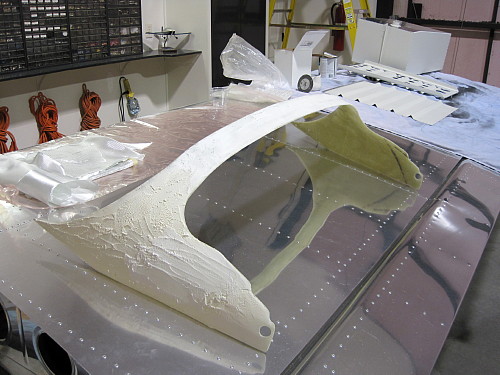
This is then applied to the
airplane, positioned appropriately, and taped down. This will sit for
at least 24 hours.
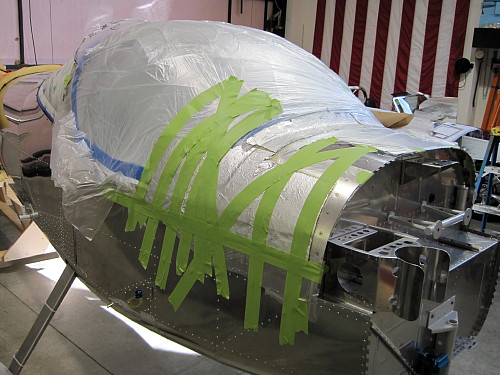
Once dry, it is popped off the
airplane. The trim lines are visible on the inside of the layup.
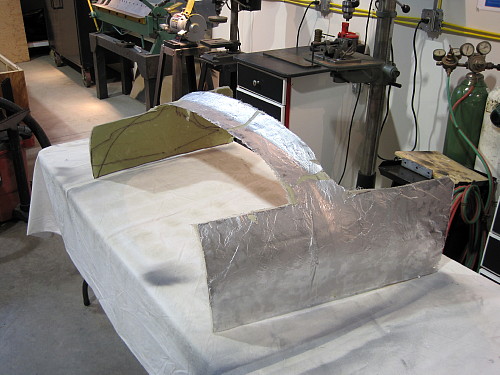
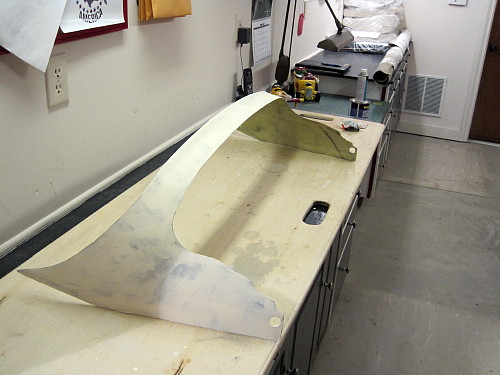
Here the part has been cut to
near final shape.
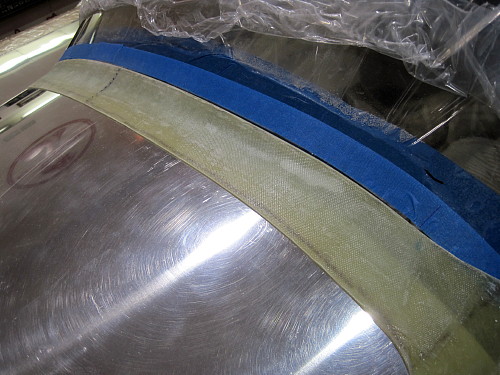
A five ply reinforcing layup is
applied across the brow of the fairing, per the instructions.

The pivot bolt holes are cut.
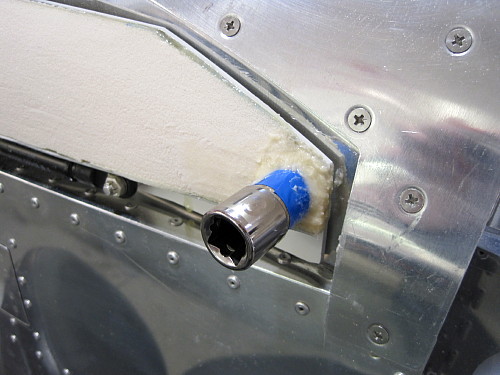
Since the foam would not stay in
place in the thin area around the opening, I used a socket to form an
opening and then layed in some flox to build up a pocket.
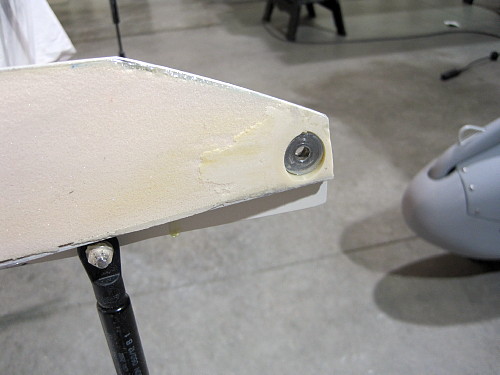
After it dried, I sanded it
smooth. Perfect!
First layer of filler is applied
to the outside.
Initial filler sanded smooth.
Minor imperfections still exist.
Construction of the canopy
continues on the next page.
|