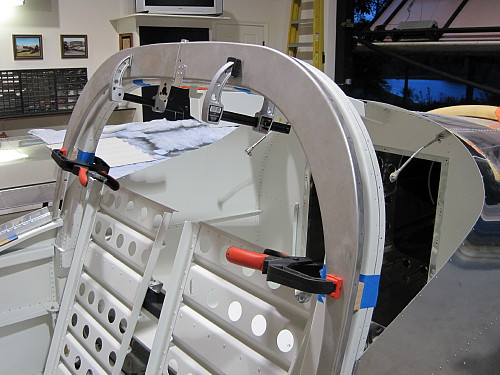
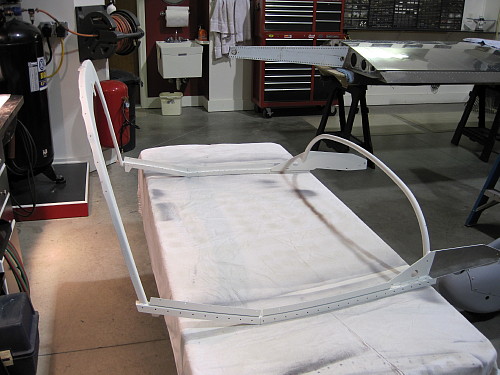
First step is to clamp the
canopy frame into position.
Spacers are used on the side
rails to hold them off the fuselage.
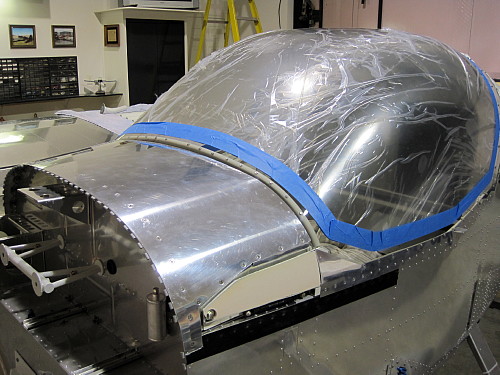
Although the canopy is supposed
to be in final trim, I had to trim it on all four sides to get the proper
fit.
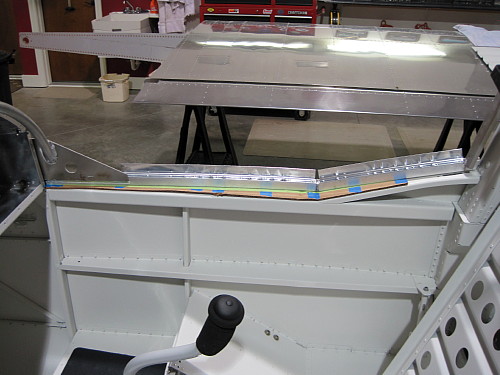
Here the canopy is clecoed in
place along the front and rear of the frame.
Now is the time to paint the
frame. I painted mine to match my interior.

Now the side panels can be
riveted in place and bolted through the canopy.

The handle was polished and
assembled.
The side foam was glued into the
proper location and sanded smooth in preparation for the fiberglass layup.
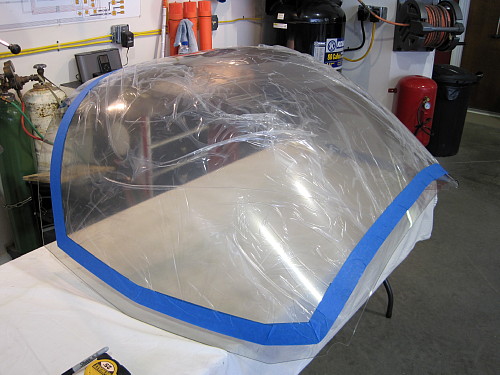
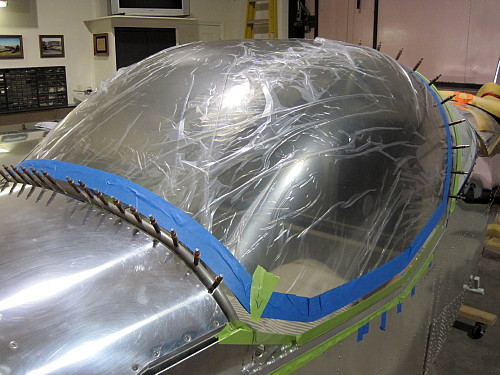
My plan is to lay up the glass
and then remove it to finish it. I put down thin plastic and marked
the location of the cut lines in black marker. These will transfer to
the glass when it is applied.
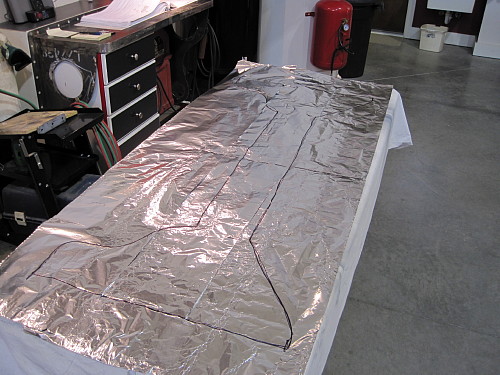
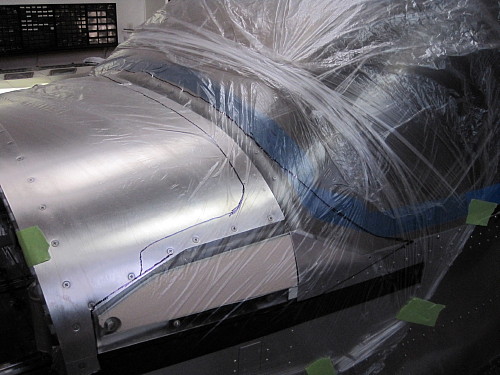
I marked the outline of the lay
up in the aluminum foil. This is where I will cut the layup after it
is wetted out.
Construction of the canopy
continues on the next page.
|